Difference between pages "Creating images for deploying to microSD" and "Installing the microSD"
(Difference between pages)
Jump to navigation
Jump to search
m |
(Created page with "<h2>microSD and SD</h2> Both the microSD and SD card slots are positioned on the back side of the pico-SAM9G45 board.<br> <b>NOTE</b>: Only the microSD card can be used for bo...") |
||
| Line 1: | Line 1: | ||
| − | + | <h2>microSD and SD</h2> | |
| − | + | Both the microSD and SD card slots are positioned on the back side of the pico-SAM9G45 board.<br> | |
| − | + | <b>NOTE</b>: Only the microSD card can be used for booting the operating system, such as Android or Angstrom Linux distribution. | |
| − | + | <br><br> | |
| − | + | The microSD card needs special attention when installing the 1st time.<br> | |
| − | + | Please follow these 3 simple steps in order to insert a microSD card. <br> | |
| − | + | * Lift hinge (if hinge is locked you need to unlock it by moving the hinge right/left)<br> | |
| − | + | * Insert microSD into the hinge with gold-contacts facing the PCB (see image below) <br> | |
| − | + | <span style="display: block; margin-left: 20px; border: 1px solid #ccc; padding: 2px; width: 402px;">[[File:hinge.jpg|link=]]</span> | |
| − | + | * Close hinge and lock. <br> | |
| − | |||
| − | |||
| − | |||
| − | |||
| − | |||
| − | |||
| − | |||
| − | |||
| − | 3. | ||
| − | |||
| − | |||
| − | |||
| − | |||
| − | |||
| − | |||
Latest revision as of 06:40, 20 October 2020
microSD and SD
Both the microSD and SD card slots are positioned on the back side of the pico-SAM9G45 board.
NOTE: Only the microSD card can be used for booting the operating system, such as Android or Angstrom Linux distribution.
The microSD card needs special attention when installing the 1st time.
Please follow these 3 simple steps in order to insert a microSD card.
- Lift hinge (if hinge is locked you need to unlock it by moving the hinge right/left)
- Insert microSD into the hinge with gold-contacts facing the PCB (see image below)
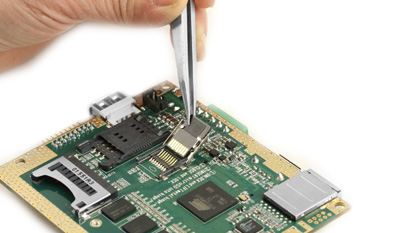
- Close hinge and lock.